

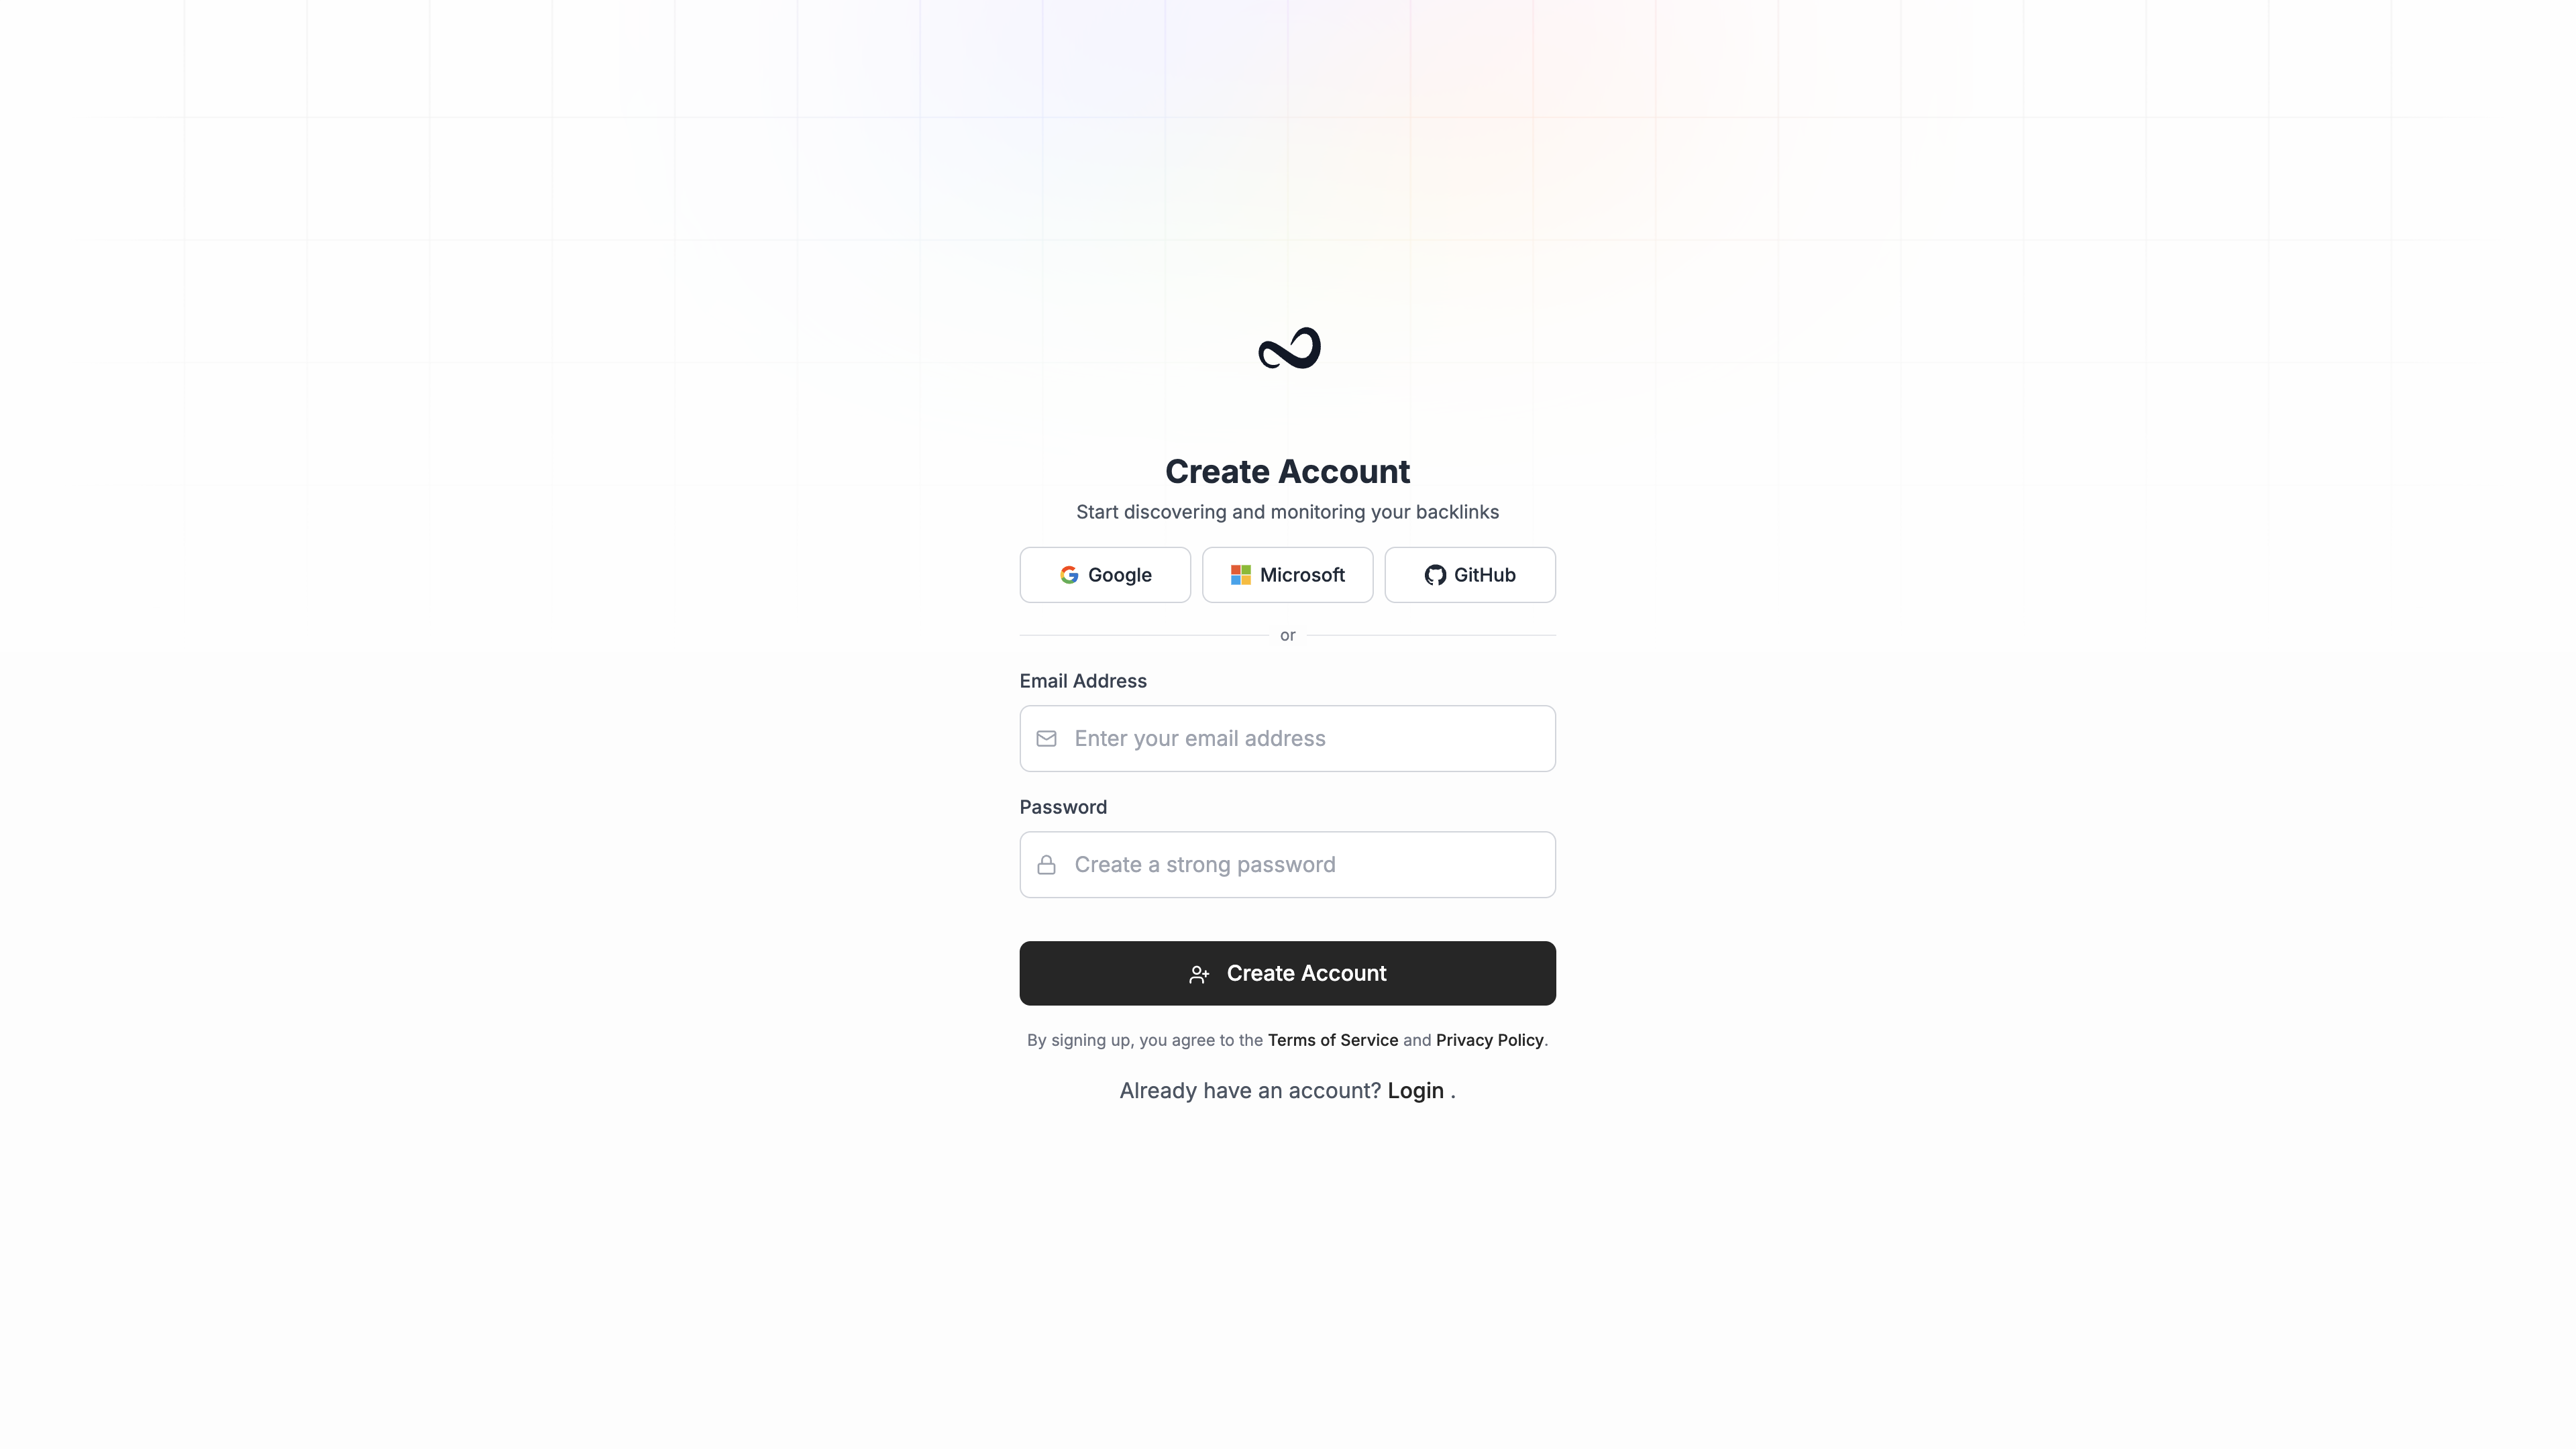
Steps
1
Open sign-up
Go to app.ples.com/signup, or click Register on the login page. You can also continue with Google, Microsoft, or GitHub.
2
Enter your email
Use an address you can access. Ples validates the address before creating the account.
3
Choose a strong password
Follow the on-page Password Requirements until every check passes.
4
Accept the terms
Check I agree to the Terms of Service and Privacy Policy.
5
Create the account
Click Create Account. You land on a confirmation screen while Ples emails you a verification link.
If someone invited you to a team, open the invite link instead. That flow pre-fills your email, skips confirmation, and joins you to the team with the role they assigned.
After you sign up
Confirm your email, then sign in and add your first domain.What’s next?
Confirm your email
Open the confirmation message from Ples so you can sign in.
Sign in
Sign in with your email and password. Complete 2FA if you turned it on.
Initial setup
Add a domain, paste your first backlinks, and see monitoring start.
Plan limits
Domain, link, user, and AI caps on trial and paid plans.